A microphone for laptop recording is an excellent tool to enhance your audio quality for various projects. These mics are built to deliver clear, crisp sound while reducing background noise and distortion. Their simple setup makes them suitable for both beginners and experts. A high-quality microphone can significantly improve your laptop's audio performance, whether you're a musician, vlogger, or online presenter. Read on to learn more about it:
- What are the common types of laptop recording microphone?
- What are the popular options at the Moman Store?
- How to use it to record audio on the laptop?

Three types of microphones commonly used for laptop recording
USB, XLR, and wireless mics are 3 common types of microphones favored by laptop content creators. Each has its advantages.
USB microphones: Best for convenience
USB microphones are a fantastic option for laptops due to their simplicity. With just a single USB cable, your computer will typically recognize the microphone as an audio device right away through Plug and Play. While you might need to install a driver after connecting the USB to your laptop or computer, most of the time, you're ready to go as soon as everything is plugged in.
Moreover, their performance remains fairly consistent across different devices, making them perfect for recording vocals, podcasts, and even instruments. These microphones are especially suitable for beginners because they are affordable.
Wireless microphone for laptop recording: Best for mobility
A wireless microphone captures audio without the use of physical cables. It transmits sound through Bluetooth or RF (radio frequency) to a receiver connected to the laptop. They are perfect for podcasting, video calls, streaming, voiceovers, and content creation, offering enhanced mobility and reducing clutter compared to wired alternatives. Many models include USB or 3.5mm receivers that plug directly into the laptop for easy setup.
High-end wireless microphones come with features like noise cancellation, high-quality sound, and long battery life. These ensure professional and clear audio recordings. They are especially beneficial for remote work, online teaching, or recording in dynamic settings that require freedom of movement.
XLR condenser microphones: Best for vocals
It's simple to find an XLR microphone that suits your recording needs, regardless of the type of sound you're capturing. The XLR connector is often built into microphones and offers superior sound quality compared to USB connectors. It also makes troubleshooting easier, and you can easily swap out cables for longer ones or upgrade the setup.
Moreover, condenser microphones are typically regarded as the best choice for vocals. Although they require extra equipment to connect to your laptop, the resulting sound quality is well worth the additional setup.
Best microphone for laptop recording: 3 options at Moman Store
Moman Online Store offers USB and wireless models for laptop recording. Here are 3 popular options. They capture and deliver clean and clear sounds, carry different features, and come in various price points to fit the needs of different users.
Moman EMR: USB microphone for laptop recording at $49.99

The Moman EMR is a retro-inspired USB microphone that delivers high-quality audio for laptop recording. Featuring an electret condenser capsule with a cardioid pickup pattern, the EMR effectively isolates your voice from background noise, ensuring clear and vibrant recordings. It features impressive sampling rates (up to 192kHz/24bit as noted in its specifications) and plug-and-play connectivity via USB Type-C. This simplifies setup and offers a seamless recording experience whether you’re streaming, podcasting, or engaging in video conferencing. The 3.5mm jack offers zero-latency audio monitoring and you can adjust the output audio with volume control dial.
Specifications
Polar Pattern: Cardioid
Frequency Response: 20Hz-20KHz
Sensitivity: -38dB+3dB (0dB=1V/Pa, at 1KHz)
Sampling Rate: 192KHz/24bit
Max. SPL: 132dB (at 1KHz≤1%T.H.D)
S/N Ratio: 85dB
Dimensions: 57.5x64.5x220mm
Weight: 129g
Moman C1X: Microphone for laptop recording at $71.99, ideal for two-person recording
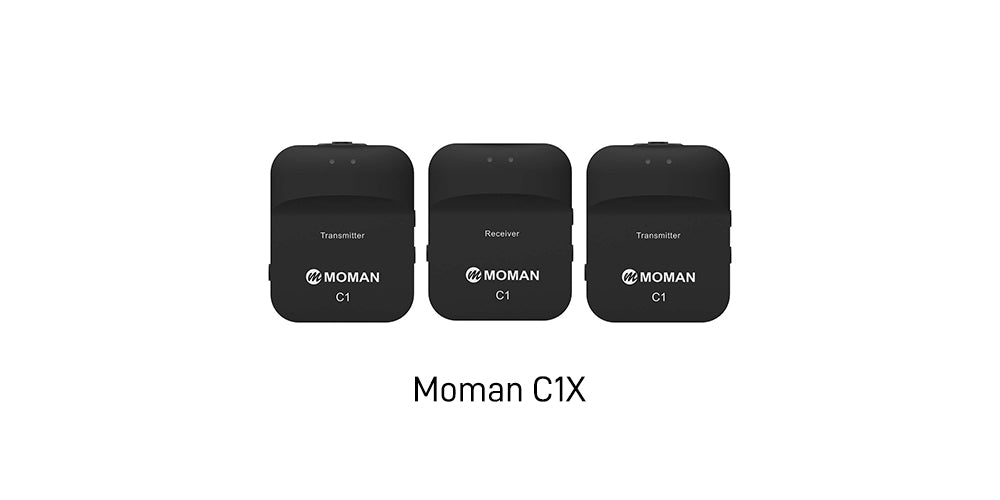
Buy Moman C1X at Moman Online Store
The Moman C1X is a versatile dual-channel wireless microphone system that brings professional audio quality to laptop recording with the convenience of wireless freedom. It features two transmitters and one receiver operating on a stable 2.4GHz frequency, delivering low-latency (around 20ms) transmission over a reliable range of up to 656 feet.
Designed with content creators in mind, the C1X offers built-in DSP technology and one-click noise cancellation to minimize unwanted low-frequency noise. These ensure your recordings are crystal clear even in challenging environments. Its intuitive gain control (0–4 levels, up to 40dB) allows you to fine-tune the audio to your needs. Its compact and lightweight design, along with versatile connectivity options (such as 3.5mm TRS and USB-C adapters), makes it an excellent option for laptop recording, whether you’re streaming, podcasting, or conducting interviews.
Specifications
Working Distance: 656ft/200m (LOS area), 164ft/50m (NLOS area)
Polar Pattern: Omnidirectional
Frequency Response: 50Hz-20KHz
Sensitivity: -40dB (±3dB, re 1V/Pa at 1KHz)
Max. SPL: 120dB SPL (at 1KHz)
Audio Output: 3.5mm TRS Mic Output; 3.5mm TRS Headphone Output; Type-C Output
Volume Adjustment: 1~40dB
Dimensions: 52x42x16mm
Weight: 35g
Moman C2: Wireless lavalier microphone with TFT screen, special offer at $69.76
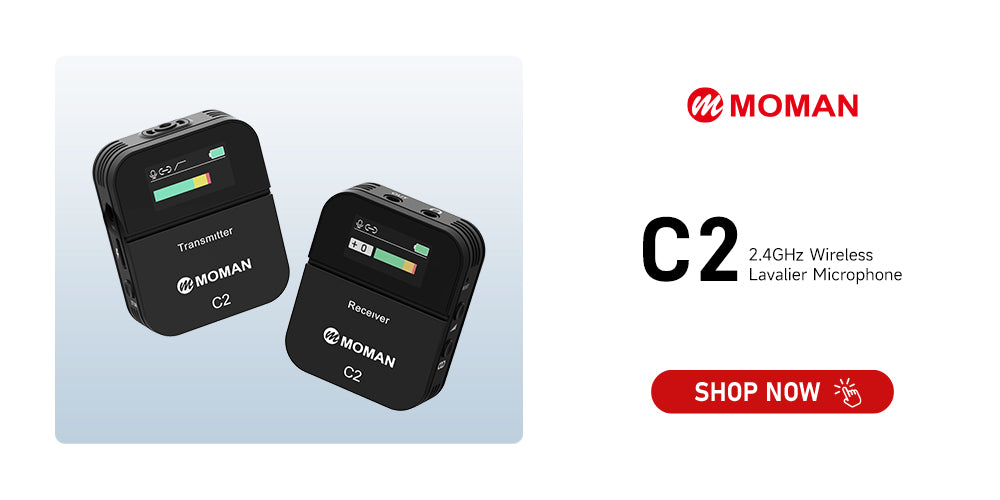
The Moman C2 microphone for laptop recording provides professional audio quality and flexibility for your laptop recording setup. With an impressive transmission range of up to 200 meters and a user-friendly one-button noise cancellation, it ensures clear, uninterrupted sound for streaming, podcasting, or on-the-go recording. The built-in TFT screen displays real-time information such as battery status and recording mode, making it easy to monitor performance during sessions.
Both the transmitter and receiver come with gain control, allowing for simple and effective optimization of signal levels with 6 adjustment options. It features TRS/TRRS and digital Type-C ports. The included Type-C, 3.5mm TRRS, and TRS cables make it compatible with laptops, DSLR cameras, voice recorders, tablets, and smartphones.
Specifications
Working Distance: 656ft/200m (LOS area), 164ft/50m (NLOS area)
Polar Pattern: Omnidirectional
Frequency Response: 50Hz-20KHz
Sensitivity: -40dB (±3dB, re 1V/Pa at 1KHz)
Max. SPL: 120dB SPL (at 1KHz)
Audio Output: 3.5mm TRS Mic Output; 3.5mm TRS Headphone Output; Type-C Output
Volume Adjustment: 6 levels (0-3-6-9-12-15)/(0~30dB)
Dimensions: 52x42x17mm
Weight: 39g
How to record with microphone on laptop?
To record quality audio with your laptop microphone, these steps are critical:
- Choose the suitable recording software
- Connect the mic to the laptop properly
- Select it as the audio input and do the mic test
Choose the right laptop recording software
Choosing the right recording software is essential for a seamless recording experience. Here are a few popular choices:
- Windows Voice Recorder: A pre-installed app on many laptops and available for download from the Microsoft Store, ideal for quick and simple voice recordings.
- Audacity: A free, open-source program that offers multiple tracks and advanced editing tools for a more polished recording.
- OBS Studio: Best for both audio and video recording, often used for streaming and game capture.
Keep in mind that your recorded files will typically be saved in MP3 format, a widely supported audio file type compatible with various media players.
Connect the mic to the laptop properly
How to connect a microphone to a laptop for recording? It differs by the type of mic you use. Here are the step-by-step connecting guides to USB, wireless, and XLR mics.
If you use USB mic
Step 1: Unbox the microphone and place it next to your computer or laptop.
Step 2: Connect one end of the USB cable to the microphone.
Step 3: Take the other end of the cable and insert the USB connector into the USB port on your laptop.
Step 4: Ensure the USB connector is securely plugged into the port to avoid any loose connection.
Your laptop should recognize the USB microphone automatically. However, if required by the manufacturer, you may need to install a driver. Generally, USB microphones are plug-and-play. The Moman EMR is an example. Just connect it to the laptop with the supplied cable and you can start recording.
If you use a wireless mic for laptop recording
Here’s a step-by-step guide for connecting your wireless microphone to your laptop:
Step 1: Check your equipment. Identify the components of this microphone for laptop recording: the transmitter (with the mic attached) and the receiver. Ensure both devices are either fully charged or connected to a power source.
Step 2: Pair the devices. Turn on both the transmitter and receiver. Follow the manufacturer's pairing instructions, which may involve pressing a "pair" button on each unit or the devices may connect automatically.
Step 3: Connect the receiver to your laptop. If the receiver has a USB output, simply plug it into your laptop’s USB port. If it uses a 3.5mm jack, you may need an adapter, such as a 1/4-inch to 3.5mm adapter, or a USB audio interface that supports analog inputs. For Moman C1X and C2 models, the receiver has a digital Type-C port, allowing you to connect it directly to the laptop with the provided cable.
If you use an XLR mic
Unlike USB microphones, XLR microphones require an audio mixer or interface to connect to your laptop. This is because XLR cables feature three pins that transmit balanced audio signals, minimizing interference and ensuring high sound clarity, whereas laptops typically have a 3.5mm audio jack designed for unbalanced signals.
Step 1: Gather all the necessary equipment for the connection, including an XLR microphone, XLR cables (with male and female connectors), A USB audio interface. Audio interfaces can connect to your computer via USB or a 3.5mm connector. For an easier setup, it’s recommended to choose a USB audio interface.
Step 2: Plug one end of the USB cable into the audio interface, and then connect the other end to your PC. You can either use the computer’s USB port or a USB switch.
Step 3: Take the XLR cable and connect the female XLR end to the microphone, ensuring it’s properly secured.
Step 4: Insert the male XLR connector into the audio interface.
Step 5: Turn on the audio interface by pressing the ‘Power’ button. You may need to install drivers for the interface, though most don’t require additional software.
Select your microphone for laptop recording as the audio input and do the mic test
Choose the microphone as your audio input device. If the microphone doesn't come with its own audio interface (it will appear automatically when connected), you'll need to select it from your computer's audio interface settings.
- On Windows, navigate to Control Panel > Sound > Recording or Settings > System > Sound.
- On Macs, go to System Preferences > Sound > Input.
Use the volume meters in these settings to check how effectively the microphone captures your voice.


