A wireless microphone operates by transmitting audio signals from the microphone to your recording device via a transmitter and receiver. It is an excellent choice for video production, as it delivers clear and reliable audio without the hassle of cables. However, using a wireless microphone for recording audio involves careful planning and preparation to prevent issues like interference, noise, and battery problems. In this article, we will offer a step-by-step guide to help you capture high-quality audio.

Step 1: Choose the best wireless microphone for recording audio based on recording devices, budget, etc.
Wireless microphones come in various styles, including handheld, lavalier, and headset models. The choice of which to use depends on the specific needs of your video project. Moman offers a range of wireless lavalier microphones to deliver excellent audio quality for devices like smartphones and cameras. Here are 3 popular picks. Read on to choose the one that fits your recording device and budget.
Moman CP2: Wireless microphone for recording audio on phone, ideal for 2-person filming, at $69.99

For smartphone content creators, the Moman CP2 is an excellent option. Compatible with both iPhone and Android devices, this wireless recording microphone is available in three variants: CP2C for Type-C phones, CP2A for iPhone Lightning, and CP2AC, which works with both. To get started, just plug the receiver into your phone, power on the transmitters, attach them to your collar, and you’re all set!
Equipped with Intelligent Noise Canceling, the CP2 effectively eliminates background noise and includes a windshield to reduce plosive sounds. These ensure your voice comes through naturally rich and clear, making it perfect for mukbang, podcasts, and more. Additionally, the CP2 features a wireless charging case, providing up to 15 hours of continuous use.
Moman C1X: Wireless system for 2-person camera recording at $95.2
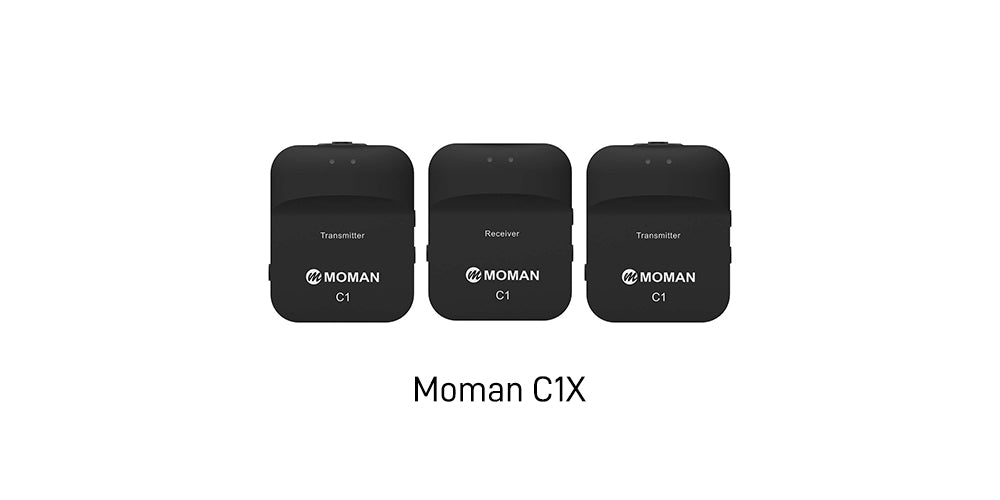
The Moman C1X is a cost-effective wireless microphone system that delivers exceptional value, priced at around $95 on the Moman Online Store. It includes dual transmitters and a receiver, operating on a 2.4 GHz frequency and compatible with devices featuring a 3.5mm jack. This system ensures clear, high-quality audio with minimal interference from background noise.
One of its standout features is its reliable range, enabling users to move freely without losing signal. The setup is user-friendly, with simple pairing between the transmitters and receiver, making it accessible even for beginners. Although the receiver lacks a display, this is a minor drawback compared to its overall performance. In summary, the Moman C1X is a top-tier, affordable option for those seeking a dependable wireless microphone system.
Moman C2: Wireless microphone for sound recording with TFT screen, choice for solo recording at $109
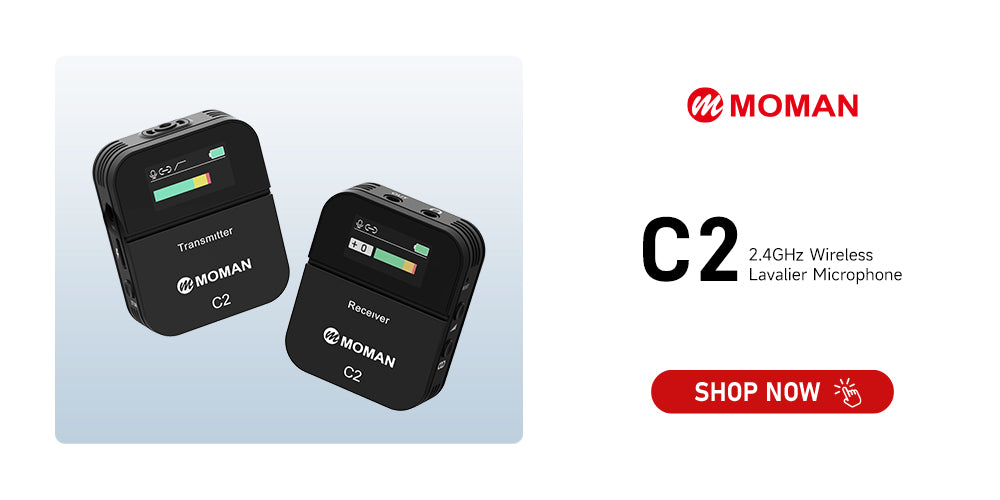
If you take camera recordings and are looking for a wireless microphone with a display screen, the Moman C2 is your choice. Perfect for content creators, vloggers, and professionals, this compact device operates on a 2.4GHz frequency, ensuring reliable and clear audio transmission. The large TFT screen makes it easy to monitor pairing status, battery life, and gain settings.
With an impressive operating range of up to 150 meters in line-of-sight conditions, the Moman C2 is ideal for a wide range of recording situations, from interviews to outdoor shoots. Its built-in microphone and optional lavalier mic offer flexibility, and the included wind muff ensures top-notch audio quality even in challenging conditions. Featuring simple setup, long battery life, and compatibility with cameras, smartphones, and other recording devices, the Moman C2 is a great choice for anyone seeking to enhance their audio recording setup.
Step 2: Position and secure wireless microphone properly during audio recording
Proper placement and securing of your wireless microphone are crucial for optimal audio quality. Ensure the microphone is positioned close to the sound source to capture clear audio, but not so close that it leads to distortion or popping sounds. Additionally, keep the microphone away from clothing or accessories that might cause friction or scratching, which can introduce unwanted noise. Utilize clips, tapes, or mounts to firmly position the microphone, and conceal any wires or transmitters beneath clothing or out of sight.
Step 3: Optimize recording environment to ensure quality audio
How to record audio with wireless microphone perfectly? The recording environment is another important factor. Bad recording environments can often lead to poor audio quality. Unless you’re in a professional studio, it’s essential to adapt your space to achieve the best possible sound. Large, empty areas can create echoes, while busy settings may introduce excessive background noise, and outdoor recordings might capture traffic or other disturbances.
For studio recordings, ensure the space is properly treated and soundproofed beforehand. When recording outdoors, carefully select the location and conduct test recordings to identify and minimize any unwanted noise in your audio.
Step 4: Monitor the audio quality and battery life to avoid audio issues
It’s crucial to continuously monitor both audio quality and battery life while filming. Using headphones or earbuds allows you to hear the output in real time. This enables you to fine-tune volume and gain settings as necessary. Additionally, keep an eye on the battery level using a meter or indicator, and ensure batteries are replaced or recharged before they deplete. A weak battery can lead to issues such as noise, signal dropouts, or complete loss of connection.
Step 5: Use a backup audio for your wireless microphone for recording audio
Despite adhering to all recommended guidelines for wireless microphone use, unforeseen problems can still arise and compromise your audio. For instance, you might face interference from other devices, signal loss due to obstacles or distance, or a malfunctioning microphone. To avoid complete audio loss, it's advisable to have a backup audio source, such as a wired microphone, shotgun mic, or external recorder. You can later sync the backup audio with your video in post-production and select the optimal option for your final product.
Step 6: Have experiments and practices frequently
Ultimately, the key to mastering the use of a wireless microphone that can record audio is to experiment and practice frequently. Test various types and settings to observe how they influence the audio quality and style of your video. Additionally, practice in different scenarios and environments to improve your ability to adapt and troubleshoot. The more you work with your wireless microphone, the more confident and skilled you'll become, leading to improved video production results.


